- Description
- Instructions
- Reviews
- Questions & Answers
Description
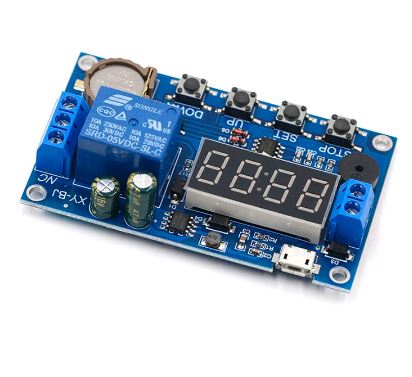
Real-time relay timing and clock synchronization time control delay 24H timing 5 time periods
Product Highlights:
- Wide voltage power supply 5.0V ~ 60V
- A mode can be set for multiple time periods, can reach 5 time periods
- With a buzzer alarm function.
Instructions
OPE: relay closing time point, CLE: relay off time point
Time period: PE-1 ~ PE-5 5 time periods (OPE to CLE is a time period)
—-: function shielding P-1: The relay closes or outputs pulses every day to the OPE time point, and the relay turns off or outputs pulses to the CLE time point. P-2: set the day, to the OPE time point when the relay closed or output pulse, to the CLE time point when the relay disconnect / or output pulse P-3: set the date of the month, to the OPE time point when the relay closed or output pulse, to the CLE time point when the relay is off or output pulse P-4: Set the date 1 to date 2, start every day at the OPE time point, end to the CLE time point, relay action or output pulse P-5: As with P-4, only the month can not be set
How to set the time? In the time to run the interface, press the DOWN button for a while: Step 1: Select the time period: PE-1 ~ PE-5 Press UP and DOWN to select; Step 2: Press the SET key to select the mode: P-1 ~ P-5 (Set this time period to the corresponding mode) by pressing the UP and DOWN keys. (“—-” means to block this time period) Note: Each time period can be repeated from the “—-“, P-1 ~ P-5 one of the optional; For example,you can let five time periods at the same time work in the P-1 mode, or let Time period 1 work in P-1 mode, time period 2 work in P-2 mode and so on.
Reviews
Questions & Answers

